Tuesday, May 29, 2012

Urban Gardening Part II: From Grocery to Garden


A beautiful herb garden can be grown from grocery store produce.
The serious problem for the true urban gardener is the total lack of nearby seedling farms or greenhouses. Even if one was perfectly set up to rooftop or balcony garden, where would one get those healthy garden-ready seedlings? What is available however is high quality, gourmet or organic small grocery marts that tend to cater to the upper-middle class busy career-person who grabs dinner ingredients on the way home. Produce at those stores is often fresh and presented in a way that reminds the consumer of the natural environment, lulling (and selling) them into believing they’ve plucked it right off the farm.

Take advantage. Much of this produce still has roots. Most fresh herbs, like basil, cilantro, oregano, or chives can be potted and placed in a sunny spot for much more than one dinner’s worth of seasoning. The same can be done with leeks and spring onions; fennel, kohlrabi, and dill can also be bought with roots.  Anything looking young and fresh and still retains roots could be viable… try it out.  (I would, however, let anything that looks a little wilty rest in a glass of water for twenty-four hours before planting, and always make sure to drench the plant after potting—that’s how the roots get settled. Afterward, water normally.)

Paradoxically, old plants can be equally valuable. If those potatoes you bought for a dinner party a month ago are sprouting eyes, or if you see some for sale on the cheap, cube them—making sure each cube has at least one growing sprout—and leaving enough potato meat (remember that is the sprout’s food)—and plant them. If you left the garlic on top of the fridge and completely forgot about it, only to rediscover it with a green shoot, plant it (making sure to separate cloves and planting each one individually) and see what happens. Again, urban gardeners have the advantage of climate control: when planting garlic outside, one must be careful to plant softneck or hardneck garlic appropriately (softneck garlic doesn’t do well in northern climates)—however if planting indoors, all sprouting garlic bulbs are fair game.

And don’t forget that every vegetable you buy has a seed that can be planted. If you find a particular variety of vegetable delicious, save the seed and plant it. (Especially rare ones!) This is elementarily easy with squash, cucumber, and pumpkin, but tomatoes, okra and peppers can also be successful with a little care. I would wash the individual seeds carefully, then dry them out in a paper towel sandwich for a few weeks. Store them in a cool, dry, dark place for the winter months, and then plant them in potting soil as soon as your USDA zone dictates.  (Don’t know your zone? See my post on growing steady in moody weather for the link.)
  
Pits can also be fun. Don’t forget that within every avocado, fresh fig, date, peach, and mango is a glorious potential tree. These take tons and tons of patience, but are a point of pride if you can pull it off. For these, bore three holes in the pit with toothpicks at a forty-five degree angle. Leave the toothpicks in, and use them to suspend the pit over the lip of a glass (I use a mason jar). Fill the glass with water until the bottom half of the pit is covered. Make sure that the level of water in the glass in maintained. Set it aside and prepare to be very, very patient. Once it sprouts roots, bury it in potting soil.

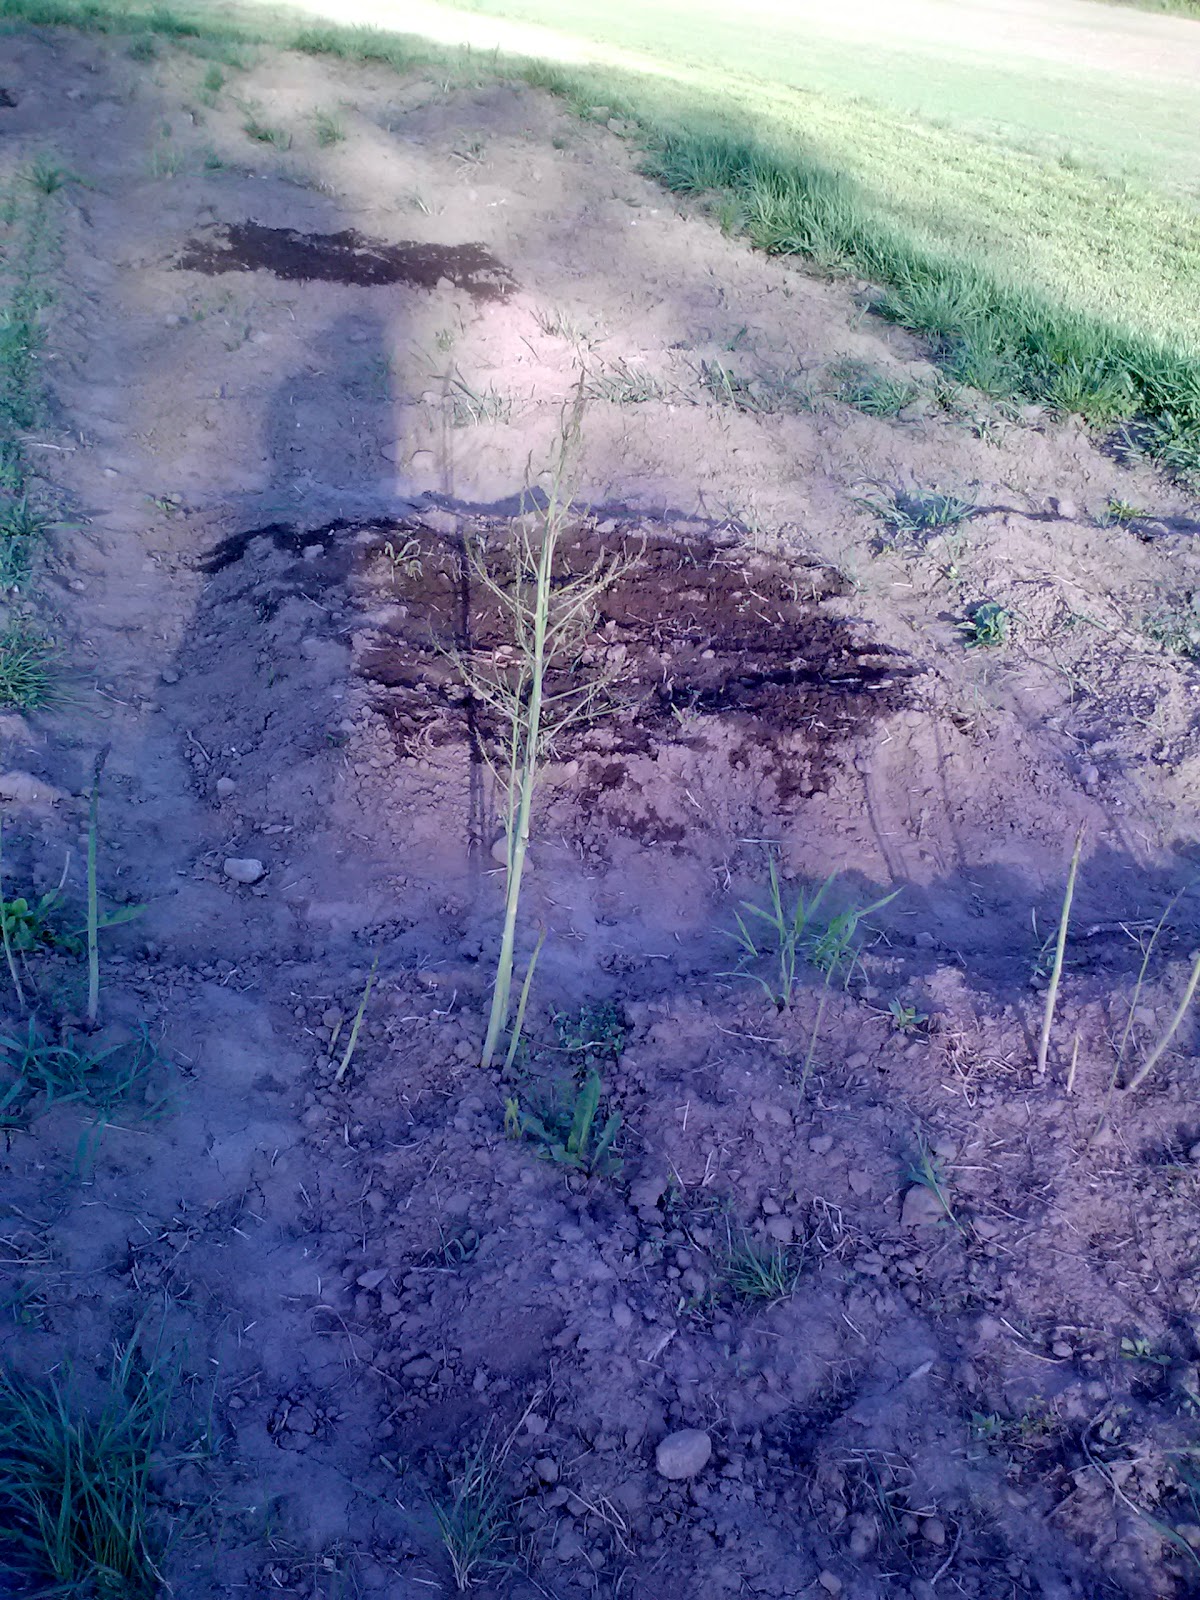
Attempted avocado cultivation from pits: month four. 

For best results with all plants, adhere to seasonal rules. Plant garlic in the fall for next summer’s bounty.  Store dried seeds and plant them in pots in the spring, then make sure they get plenty of water and sunlight.  The most important virtue in gardening, urban or rural, is patience: Mother Earth marches to her own beat. 

Thursday, May 17, 2012

Progress Report


Progress Report

     In the academic world, it’s progress report time, when many students either rejoice or despair in the fact that this is “only a drill.” In that same spirit, I thought it useful to assess my own progress.  (In true teacher fashion, one always begins with the positive.)

     What I’ve done well:

     After about eight weeks, the chickens are still alive—and growing fast! Although it is still a tad too early, I peek hopefully into the coop every morning for those ethereal and edible artifacts of chicken achievement. Not yet.

     I’ve attributed this year’s continual chicken survival to a few factors: firstly, they (unfortunately) don’t free range. They do however have a roomy and open pen which they seem to enjoy. They have sunny spots, shady spots, and shelter when they want it, and are protected by a large cube of chicken wire (as I mentioned in a previous post, the bottom is buried so they have grass).  We also recently adopted a dog, Jude, an Australian shepherd mix who does a pretty good job of marking his territory. I haven’t seen hide nor hair of fox nor weasel since then. In fact, my husband has taken to redistributing our new friend’s doggie droppings to the perimeter of the chicken coop, and then our property, just in case. Though my dream of clucking followers (termed like this, I begin to think this dream was a tad megalomaniacal) may not come true, at least content chicken survival is, so far, possible.

     Secondly, after years of planting in flat beds and battling weeds and drought, I’ve decided to try a different method. In my 60’ x 60’ vegetable garden, I planned out different size oblong beds and, with a garden hoe, dug them into raised beds with paths in between. The beds range from 4’ x 4’ to 3’ x 6’, and are arranged with companion planting and crop rotation in mind. The idea is that with these “raised” beds I have specific paths on which I can walk, thus inhibiting weed growth, and from which I can easily harvest without worrying about damaging plants. Also, I wouldn’t have to rototill every year and damage the structure of the soil; instead, the paths would become compacted and I could gently work in manure and compost to only the bed areas as needed. Rotating crops would also become incredibly easy. I am aware that most conceptions of "raised beds" require some kind of solid perimeter,  but the whole permanency of that kind of experiment seems unwise-- Lewis Carroll would ask, "What if this doesn't work at all?" With a simply dirt-mounded structure, I feel like I can give it a whirl and plow it all under if I don't like it. 

     What needs improvement:

      I’ve done some experiments with hydroponics this spring with mixed results. After waiting until my easy-grow seedlings (i.e., peas and beans) were well-sprouted, I gently dug them out with my forefinger and transplanted them, soil still clinging to roots, into glass vases filled with plain filtered well water. I experimented a little bit: I put some of each kind of seedling into clear, red, and green glass vases and plunked them on an indoor shelf in the sunlight.  In my results, regardless of glass color, my bean seedlings are healthy (and one has even flowered) while my peas are wilting away. My lesson so far is that peas need more nutrition, not necessarily that they can’t be grown hydroponically. More work to be done on this. Perhaps not warm enough? Started too early?

     Also, I need a better garden water system. Right now, I run a hundred plus feet of hose from my house to my garden and water first thing every morning. Even with that length, the hose doesn’t properly reach all corners of the garden. This is pure laziness on my part. Must revise to a better system.


     What I’ve learned:

     Firstly, to my relief and excitement, I have learned that, apparently,  it is really difficult to kill asparagus. Last October my father, who owns a proper full-time farm, was “coming by” with the tractor and disker and offered to turn over my garden for me. I quickly and rashly accepted, thinking of the labor it would save on my part, only to want to smack myself fifteen minutes later. I had planted asparagus, a perennial, in the southwest corner of the garden, and he had disked over it.

Asparagus rise! Carrot and beet raised beds beyond.
     I was absolutely distraught all winter. I had painstakingly dug asparagus trenches, carefully planted them, and, with baited breath, watched them grow, knowing that it would be three years until I’d have my first asparagus crop. And I’d have to start again.

     However, this spring, that lovely tenacious asparagus reappeared. Not where I had planted it, of course (apparently the worst it had suffered at the mercy of the disks was displacement), but it reappeared nonetheless. I will not, however, be testing its tenacity again.

     Secondly, I have learned that no matter how much reading, planning, and debating I do over the winter, I will inevitably change my garden plan once I get IN the actual garden. I am on my fourth garden map right now, and am still in a process of revision. While I try to adhere to the rules of companion planting, my ideal garden changes depending on the varieties of vegetables available that year as well as the weather pattern of the planting season at hand. I thought I had constructed my final draft plan in February, but now find I am using that “final draft” as a reference to guide what I’m actually doing. So far, I have parsnips, carrots, and onions in the ground, so at least that part of the map is immutable.
200 Onions, red and white, in their own "raised" bed.


     What I have really learned from this? Thinking about the garden is fun year-round, even if it’s only a drill. 

Monday, May 7, 2012

Bread and Jamnation!


As a rule, I make an effort to shop small, local businesses rather than the national chains. My favorite thing about my local family-owned grocery is that, rather than throw out day-old or bruised produce, they sell it in paper bags off a shelf in the back of the store for drastically reduced prices. You might get four pounds of week-old parsnips for a dollar, or a bushel of slightly bruised apples for the same price. It is fantastic. Not only am I a fan of avoiding waste (in many other countries of the world, not only would these beautiful fruits and vegetables be unavailable, but folks would argue over them); I am an inveterate bargain hunter and can make something delicious out of the most overlooked of nature’s bounty.
            Thus, I have recently become addicted to jam-making. At first, this process seemed incredibly intimidating. Not so. Making jam is perhaps one of the easiest culinary adventures out there. The necessary ingredients are few and easy to procure, and the space to creatively riff on your product is infinite. Jam is the waste-free, backyard-farming individual’s answer to windfall produce—whether you grew it or simply acquired it cheaply. Here is really the only rule: simmer it down for a long time. Until it’s ready. Jam-making needs patience. You don’t actually need extra pectin or sugar if you take the time to make sure the mixture is boiled to almost solid. Keep on low heat and stir often.

Following are some of my favorite unique creations:

Pineapple Chipotle Jam
1 whole pineapple, finely chunked
1 cup brown sugar
4 cups water, plus extra
2 tbs crushed chipotle pepper

Boil the water; place the pineapple chunks and sugar in the water and reduce heat to medium low. Throw in hot pepper. Cook , stirring about every five minutes, until there is no water left and pineapple even burns a little bit on the bottom of the pan. Turn off heat and stir into a jam-like consistency.

Black Onion Jam
3-4 medium white onions, sliced very thinly
½  cup olive oil
½ cup maple sugar or molasses
2 cups water

Caramelize onions in olive oil. Add water and sugar; boil down until very thick.

Nectarine Brown Sugar Jam
2 lbs nectarines, pitted and diced
2 cups brown sugar
6 cups water
1tbs cinnamon
 
Bring water to a boil, then add nectarines, sugar, and cinnamon; reduce to a simmer. Simmer until a thick, jam-like consistency is achieved. This will take more than an hour (probably almost two).

Once you’ve mastered these, you can get a little fancy…


Smoked Vanilla Pear Jam
4 cups water
6 pears, any variety, chunked
4 medium apples, any variety, chunked
1 cup olive oil
2 tbs pure vanilla extract
1 tbs lemon juice
2 cups sugar

Rub a baking sheet with a little olive oil so the whole surface is coated. Spread fruit onto the sheet and drizzle with the rest of the olive oil. Bake at 400 F until soft and slightly browned (or even a little burned—this will only help the flavor). Bring the water to a boil and scrape in the fruit. Add the sugar, vanilla, and lemon juice; simmer until a jam consistency is achieved.

Sweet Jalapeno Jam
4 cups water
1 medium white onion, minced
¼ cup olive oil
1 tsp cumin (or more to taste)
2 cups brown sugar
½ lb jalapenos, diced
1 tbs lemon juice

Rub some olive oil onto a baking sheet and scatter jalapenos and onions on it; sprinkle with cumin. Bake at 400 F until onions are caramelized and you see black smoky spots appearing on the jalapenos. Boil water and add jalapenos and onions. Add sugar and lemon juice. Reduce to a simmer and cook until jam is achieved.

As you can see, there is a pretty predictable pattern involved here: fruit, sugar, water, boil. Acid (lemon juice) if you want to can anything. So easy and fun to deviate from the normal.

Making my own jam also appeals to me in the sense that I’m controlling the sugar content. Now, when I’m post-maple season, I actually use maple sugar, which is rich in minerals and amino acids, instead of refined and barren white sugar for all my recipes. (About a tablespoon equals a cup if making this substitution.) There is of course also the omnipresent aspect that I know (only to a better extent, of course—but control the controllable, right?) what is in our food and where it is coming from. I know it is natural, chemical and preservative free, and good for my family.

            With the same mindset, I also began making my own bread regularly about two years ago. At the store (yes, our same small-town local grocery) I had a strange tipping point: I looked at the labels on all of the breads that were advertised as “whole wheat” or “whole grain” or “heart healthy” or “no additives” and found that they all had ingredients that were not whole grain, or healthy, or natural. I make two loaves of bread twice a week, and have found that not only does my family like it better, but I am so much happier feeding it to them. Here is my favorite recipe:


1 cup oatmeal
2 cups boiling water
2 1/4 tsp. bread yeast
1/3 (or so) cup warm water
2 tbs olive oil, plus more
1 tbs natural maple sugar (or molasses or honey if you don’t have access to natural sugar)
1 tsp salt
4 cups whole wheat flour


Put oatmeal in a large mixing bowl. Pour boiling water over it and let it stand an hour, until all the water is absorbed by the oatmeal. Make a yeast starter with the yeast and water and let stand 15-20 min. Drizzle olive oil over top, sprinkle sugar and salt, and mix thoroughly. Add yeast starter. Mix in flour one cup at a time, until saturated. Let rise over night. The next day, grease two loaf pans with olive oil. Divide the mixture and let rise again over night. Bake at 350F for an hour or more, until a knife comes out clean.


I write this as a fresh pear jam batch comes off the pot—looking forward to breakfast!